Handmade Upcycled Stencils and Stamps

How to Make Your Own Handmade and Upcycled Stencils and Stamps
This page is all about making stencils and stamps out of old junk you have lying about your home.
I'm a textiles artist but I've recently become more and more interested in art journals and sloshing paint around.
As I don't have the money to spare on buying a whole bunch of new items for a new craft, I've decided to make my own bits and pieces where I can. Also, here in the UK (at least where I live) it's not as easy to get your hands on cool craft stuff.
In my textiles work I've made a habit of using recycled fabrics so it seems natural that I'd also upcycle old junk with any new artwork.
I love the idea of making something from scratch and having unique stamps and stencils.
Stamps
Cardboard

Cardboard Rolls
TP rolls, tubes, cellotape middles...
Cardboard rolls are one of the simplest things you can use to make a stamp.
The best thing about toilet paper rolls is that they can be squished to make shapes other than circles.
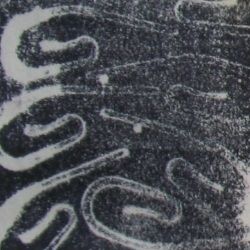
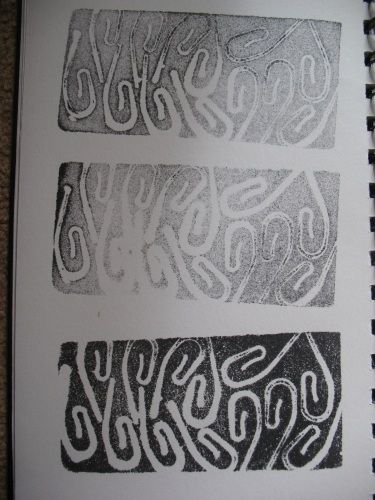
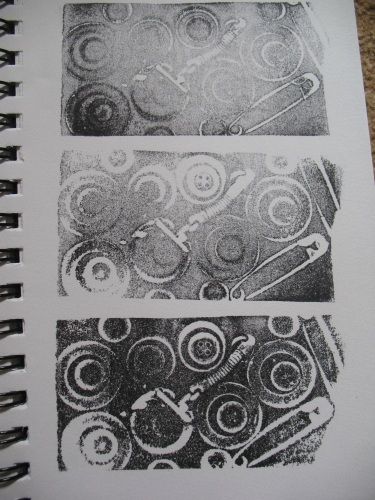
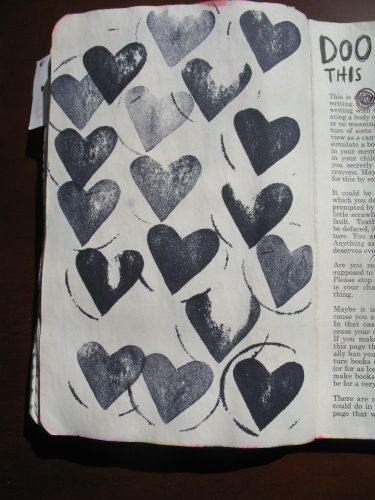
All you need to do is grab one and dip it in some paint and then you're ready to go decorate some paper like in the image below.
In the image opposite I first coated the paper in thick acrylic paint and then I used a cellotape roll to make marks in the paint.

Cardboard and String
I love this idea - it's so simple.
Watch Jenniebellie's video for more inspiration.
These stamps are so easy to make - you just need some thick cardboard, some glue and some yarn or string.
I used PVA glue for my stamps but you might want to use something a little longer-lasting.
I coated the cardboard in a thick layer of glue and then smooshed the yarn into the glue and moved it into the shapes I wanted. I then added more glue over the top of the yarn to seal it.
I found these stamps were great to use with water-soluble crayons - I scribbled across the hard sealed yarn and then used a paintbrush to wet the sections I wanted to use.

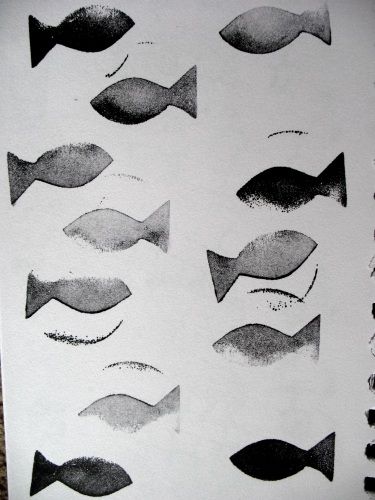
Fruit and Veg

Onions etc...
There was a huge bag of onions in the fridge - more than we'd probably get around to eating so I decided to use one to create a stamp.
What I loved about using an onion as a stamp was that the paint soaked up into the onion so when you come back later to use another colour, you get multi-coloured prints.
You can get some really interesting shapes from onions - see the image opposite.
You could try making backgrounds using a variety of different fruits and vegetables together and remember, vegetables like potatoes can be carved to create all sorts of different shapes.
Onions and Oranges Gallery
Click thumbnail to view full-size


Foam

Flipflop Stamps and Other Foam Stamps
What a great way to repurpose those your flip-flops at the end of the summer - especially when the thong part on the top breaks loose from the base.
I've also had some success with those foam play mat pieces.
You'll need a heat gun to heat up your flip-flops (or similar foam) to make these stamps.
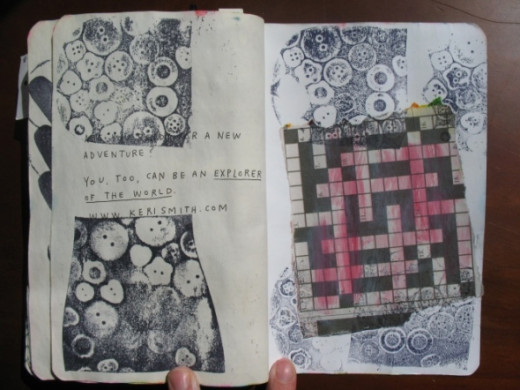
Check out my Wreck This Journal Gallery further down this page to see the flip-flop prints.
Foam Playmat Prints
Click thumbnail to view full-size


Print and Stamp Lab - By Traci Bunkers.
I want this book so much!
I found this book through a Traci Bunkers video on YouTube. Check out her videos because she has some excellent ones on printing with fruit/vegetables and making your own mouldable foam stamps out of things like flip-flops.
*Update*
I've since bought this book and I have to say it's really fascinating - it's worth it alone just to see how Traci combines different prints but there are also a lot more ideas than the ones I've discovered on this lens.

CDs

Using CDs as Blocks for your Stamps
In my house there's always a load of CDs lying around waiting to be chucked out. This is a great opportunity to make them into something useful.
A CD also gives you a great base for making a larger, more detailed stamp. The stamp shown here is fairly simple but because a CD is quite large you could spend some time coming up with something much more intricate.
I made my CD stamp by cutting out pieces of fun foam and gluing it to the CD - I used PVA glue but you might want to use something a little stronger.

Polystyrene

Polystyrene
Orange Nets, Rubber Bands, String etc
Polystyrene blocks are great for wrapping orange nets or wire or bands around - they give you a good base to work with.
These are so simple to make - you literally just wrap whatever you want around the block and you're good to go.
You can use drawing pins to fasten things like orange net at the top of the block or you could just tie a knot in it to keep it in place.
You could also try cutting into the polystyrene to make interesting prints too.
Be careful not to leave any polystyrene bits lying around where young children or pets could pick them up and swallow them.


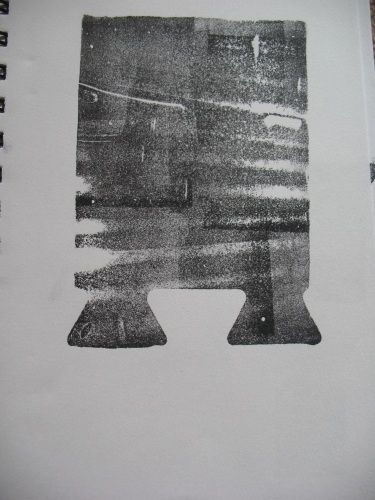
Polystyrene Plates and Food Containers
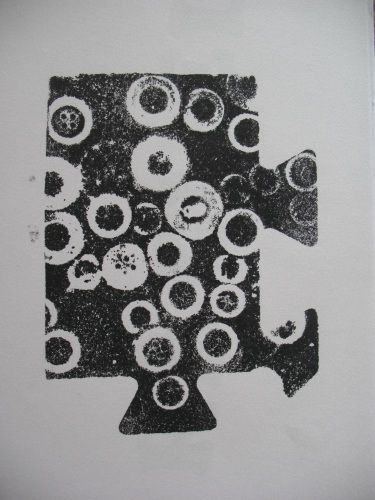
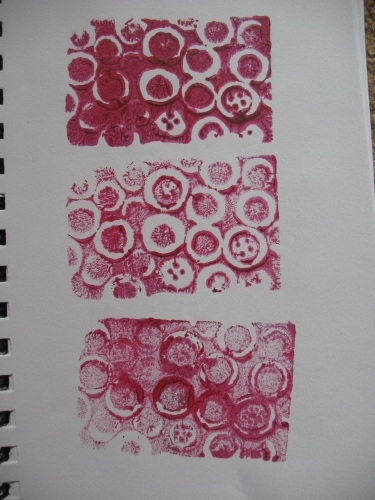
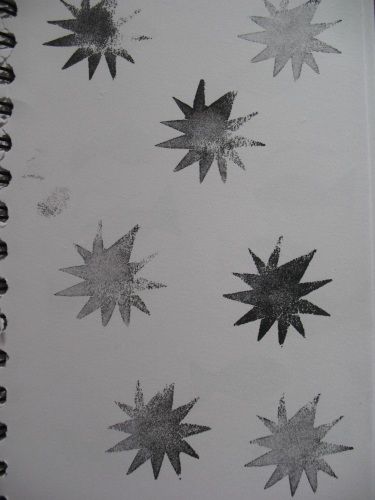
My current favourite material to use for stamps is polystyrene from plates and takeaway food containers etc.
Polystyrene makes a fun detailed reverse stamp.
All you need to do is cut out a flat clean piece of polystyrene and grab a ballpoint pen (even one with no ink would be good for this as you just need the hard tiny point to make your lines. Draw your design onto the polystyrene, pushing hard enough to "cut" your lines in. Remember that you will end up with a reverse image and that your fine drawn lines will be "white page" and the ink will be the left over untouched polystyrene.
The downside of polystyrene is that it's easy to damage but if you're careful your stamps should last.
Below you can see how I've used a small circular stamp with a simplified "dandelion clock" cross inside it. I've also used the crass hatching that was already on the reverse of a polystyrene tray.

Ink Pads
A good selection of different-coloured ink pads is great for scrapbooking or art journalling.

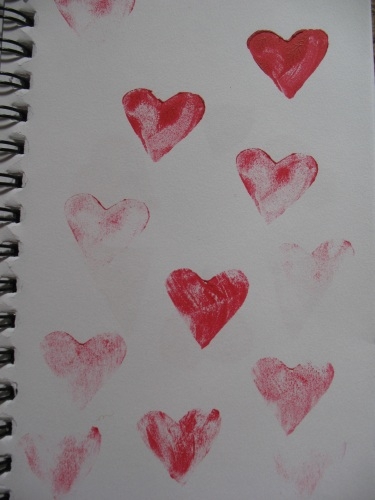
Milk Bottle Tops

Save all those Bottle Tops!
These are some of my favourite stamps and they're so easy to make.
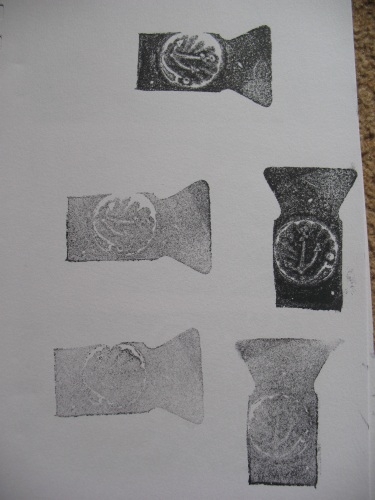
You'll need some craft foam, bottle tops (any kind will do but I like milk bottle tops), and some sort of glue. I recommend glue gun for this project. I used PVA glue and it just doesn't last.
The image opposite shows both foam I've cut myself and foam that was pre-cut into letters.
All you need to do is stick the foam shape to the bottle top and you're good to go.
If you're cutting your own shapes you might like to keep them simple as you're working so small. Also remember when sticking your foam to the bottle top - whatever your stamp looks like you're going to get a reverse image.
Milk Bottle Top Gallery
Click thumbnail to view full-size


More Ideas for Homemade Stamps
- Handmade Holiday Stamps
Stamps made from Crayola's Model Magic. - Bloom, Bake and Create
Review of Traci Bunker's Print and Stamp Lab. - MadebyNicole
Two-step Stamps for Art Journalling.
Stamps In my "Wreck This Journal"
Click thumbnail to view full-size


Stencils
Xacto Knife Set
You'll need a good knife to cut out your plastic stencils.
Remember to be careful not to cut yourself.
Thick Upcycled Plastic Portfolio

I knew keeping that old broken plastic portfolio would prove useful one day!
Really, any thick-ish, flat plastic will make a great stencil.
Draw your design onto the plastic with a marker and then use a craft knife to cut out the shapes - please be careful as I had a few close shaves when I was making my stencil.
Below: I used my stencil to make a reverse image by painting acrylic paint onto gesso. Before the acrylic fully dried I placed my stencil on top and used a damp cloth to wipe the paint away through the stencil - leaving me with the paler shapes.
Stencil used in an Altered Book

Poppodom Packaging
You don't have to use poppadom packaging - that just happens to be what I had to hand. Any thick plastic packaging will work.
The thing I liked about this packaging was that it had a built up edge to make it easy to hold onto even though it made it more difficult to cut a design.
I went with a very simple design which only took a few minutes to cut with a craft knife.

Plastic Sleeves

Plastic Sleeves are really simple to cut but they can be quite weak so be careful with the more intricate designs. This is a great idea for upcycling those plastic sleeves that get ripped out from binders.
Below you can see that I made a really simple circle stencil.
The benefit of using plastic sleeves is that you can trace designs onto them with a marker but they can curl up if not stored correctly (see photo).


